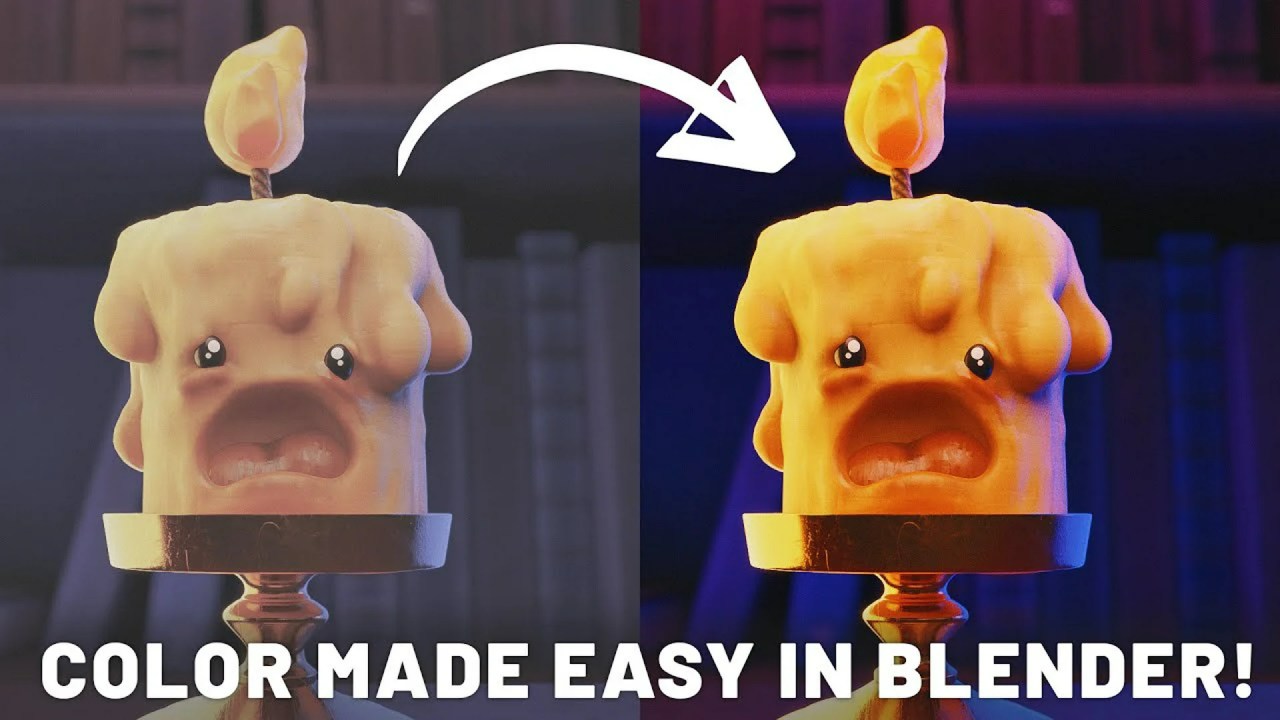
Achieving professional lighting in Blender doesn’t require complexity. Expert Max Hay unveils three easy-to-implement setups: dramatic spotlighting, natural outdoor illumination via HDRIs, and high-impact futuristic scenes using emission and reflection.
Creating compelling 3D environments often hinges entirely on effective lighting. Whether you are aiming for high-drama realism or stylized sci-fi flair, understanding foundational light principles can dramatically elevate your work. In a detailed tutorial, 3D artist Max Hay shares his three go-to lighting setups designed specifically for creating stunning scenes in Blender.
Hay, known for his masterful environmental art (and his popular Cyber Environments Course), focuses on techniques that maximize visual impact without needing overly complicated node setups or lengthy render times. He demonstrates how adjusting simple elements like light radius, volume density, and HDRI placement can transform a basic scene into a masterpiece.
1. High-Impact Dramatic Spotlighting
This setup is perfect for drawing the viewer’s eye directly to a specific subject, leaving the rest of the scene immersed in shadow and atmosphere. The key to this look is using volume scatter.
The artist advises covering the entire scene with a volume scatter cube set to low density and increased anisotropy (this helps define the light beams). The lighting itself is driven by just one main spotlight. Remember: increasing the light’s radius will soften the resulting shadows, giving a more cinematic feel.
To prevent the deep shadows from becoming absolute black, a secondary, low-intensity area light is crucial. This fill light should be positioned above the scene, subtly revealing just enough detail without compromising the overall dramatic effect. Hay also mentions an advanced technique for ultra-precise falloff using the Light Falloff node in the shader editor, allowing artists to control focus distance without affecting the volume.
2. Effortless Outdoor Sunlight Using HDRIs
If your goal is photorealism, particularly in open outdoor settings, nothing beats the efficiency of High Dynamic Range Images (HDRIs). HDRIs provide natural, realistic illumination and ambient fill light, instantly grounding your scene.
The essential trick here is rotation. Instead of simply plugging in an HDRI, rotate it until the sun hits your objects optimally—generally from the side or slightly in front of the camera. This generates strong form definition through clear shadows. Hay strongly cautions against placing the sun directly behind the camera, as this flattens the lighting and washes out depth.
- Dealing with the Background: If the background provided by the HDRI isn’t suitable, you can easily replace it with an emissive image plane of a desired sky texture. Critically, ensure this image plane’s ray visibility settings disable shadows so it doesn’t block the actual sun from the HDRI.
- Adding Sun Glare: For extra realism when the sun is visible in the frame, place a simple white emissive plane aligned with the HDRI sun. Then, use a Glare node (often the *Fog Glow* or *Bloom* preset) in Blender’s Compositor to achieve a realistic lens flare effect.
3. Dark, Reflective Futuristic Scenes
For artists tackling futuristic, sci-fi, or cyberpunk environments, the focus shifts entirely to emissive materials and high reflectivity. This dark aesthetic relies on deep shadows punctuated by sharp, glowing elements.
Leveraging Emissive Surfaces and Volume
The entire scene should feature a prominent, glowing emissive light source, like neon signage. This light source must be supported by reflective materials on floors and walls, perhaps using procedural noise plugged into the roughness channel for complex surfaces. Just like the dramatic setup, a thick volume scatter (high anisotropy, low density) is employed to give the glowing signs a palpable presence in the air.
To ensure silhouettes are visible and the scene isn’t completely swallowed by blackness, a subtle, often cool-toned area light positioned above acts as a necessary minimal fill light. This subtle detail prevents loss of geometric structure.
Compositor Enhancements
The key to selling this look is post-processing. In the Compositor, a Glare node set to the *Bloom* preset is highly effective for giving those bright emissive surfaces a powerful, realistic glow. You can also add complexity to your emissive signs by plugging detailed image textures into the alpha channel, controlling the definition of the light source using a Color Ramp.
To further fill out the scene and enhance visual interest, assets like the nature asset pack Arborea (Sweeper’s Nature Addon) from Superhive Market can be used to add high-quality props and natural elements.
Conclusion
Max Hay demonstrates that mastering lighting is about understanding light’s function in context—whether it’s generating mood with a single strong spot, replicating nature with a high-quality HDRI, or defining depth through emissive glow and volume. By following these three proven recipes, you can tackle nearly any environment challenge with confidence, significantly boosting the quality of your ArchViz and cinematic renders.
Ready to dive deeper into maximizing your scene quality? Explore more advanced Blender Lighting & Rendering tutorials or discover new techniques for building immersive Blender Environments on CGEcho.


