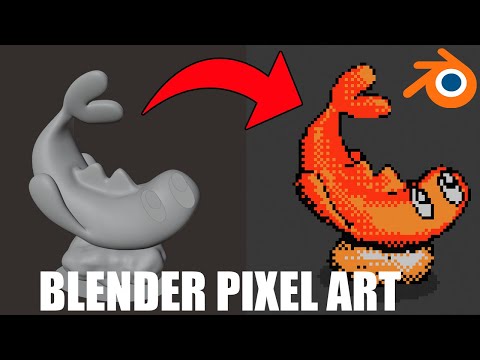
Discover how to generate striking, low-resolution pixel art sprites and animations using a free Blender add-on. This tutorial reveals the “cheating” workflow for 3D artists, covering specific techniques from simple modeling to final game engine integration.
Creating compelling pixel art usually requires advanced drawing skills or relying on heavy AI processing. However, content creator Lucas Roedel demonstrates a brilliant “cheating” method using Blender’s 3D capabilities combined with a custom rendering add-on, achieving authentic low-resolution aesthetics quickly.
Roedel’s free pixel art add-on is available on Gumroad here. While the base price is $0, users are invited to name a fair price, supporting the developer who built upon Mezaka’s original setup to incorporate Eevee compatibility, Bayer dithering, and support for multiple light sources.
The Pixel Art Rendering Setup
Simple Modeling for Low Resolution
The fundamental principle of this workflow is simplicity. Since the low output resolution will inherently obscure high detail and the add-on does not support standard textures, modeling should be done using simple, basic geometry. Roedel illustrates this by building the Pokémon Tatsugiri using basic shapes. For organic forms, like rice, a simple subdivided cube with a noise texture displacement works surprisingly well.
After modeling, the immediate next step is installing the custom add-on via Blender’s preferences. Once active, the add-on panel, accessible through the ‘N’ key, handles the scene setup and automatically generates the necessary pixel art material.
Mastering Color and Lighting
The pixel art look is critically dependent on a limited color palette. Customization is handled entirely within the shader editor using the color ramp node. Artists must import their desired color palette, ensuring the colors are arranged strictly from the darkest value to the lightest value. Adjusting the number of color stops controls the final color depth.
Lighting is equally important. The scene must be lit strategically to ensure that all selected colors in your palette are visible in the final render. A key element of the shader is the soft light node, which controls the detail and transition between these limited colors.
Specific challenges, like handling shadows and outlines, require specialized setup:
- Shadows: Create a simple gray circular plane beneath the object.
- Outlines: Outline thickness is controlled in the Freestyle tab.
- Excluding Outlines: To prevent the shadow plane from having an outline, place it into a dedicated “no outline” collection. Then, in the View Layer menu under Freestyle Line Set, set the “collection” option to exclusive for this group.
Crucially, remember to set your output resolution to the lowest possible setting—the essence of pixel art.
Advanced Animation and Export Techniques
To achieve the classic, low-frame-rate feel typical of retro games, Roedel introduces a non-destructive animation technique using the Graph Editor. Instead of manually deleting keyframes, add a “stepped interpolation” modifier to your animation curves. By choosing a step size (e.g., three), the animation’s effective frame rate is reduced without permanently altering your source keyframes. This flexibility is invaluable for iterative design.
Experimentation with animation is encouraged, often favoring a base frame rate around 24 FPS, or even lower, depending on the desired aesthetic. The animation sequence should be rendered out as a series of PNG files.
For enhanced results, external tools like Aseprite can be used to add hand-drawn flair, such as smear frames or mirror effects, directly onto the sprites before final compilation.
Finalizing and Integrating into Unity
The final rendered PNG sequence requires upscaling to be usable. This step is handled within Blender’s Video Editing module. Load the image strip and apply the “nearest” transform filter to maintain sharp, clean pixel edges during scaling. This sequence is then rendered as the final video file.
For game development, integrating the sprites into Unity requires attention to detail to preserve the crisp pixel aesthetic. The animation sequence must first be converted into a sprite sheet (often done using the external software). When importing this sprite sheet into Unity, two crucial texture settings must be adjusted:
1. Set the filter mode to “Point” (No Filter).
2. Disable texture compression.
Failure to set the filter mode to “Point” will result in blurred, unusable sprites.
This robust workflow demonstrates how 3D artists can tap into the popular stylized aesthetic of pixel art without sacrificing their knowledge of 3D tools. This method is particularly efficient for those interested in optimizing the color palette within the shader editor and refining the light setup, core skills that are central to mastering Lighting & Rendering. Furthermore, understanding how to modify animation curves, like using stepped interpolation, is a fantastic skill for future projects delving into non-destructive methods for reducing effective frame rates, a useful technique often found in VFX & Simulation.
If you are aiming to create beautiful stylized visuals for games or concept art, give Lucas Roedel’s method a try. It is an extremely accessible approach that transforms 3D models into stunning 2D sprites.


