Stop feeling overwhelmed by Blender’s node spaghetti. This comprehensive guide, led by SouthernShotty, breaks down the 10 most essential shader nodes, offering clear explanations and practical examples to elevate your material creation workflow instantly.
If the Blender Shader Editor looks like a confusing labyrinth of wires and boxes, you are not alone. It can feel daunting, but mastering the core nodes is the critical step toward creating realistic photorealistic and captivating stylized materials.
Expert creator SouthernShotty recognized this common hurdle and produced an exceptional guide that demystifies the entire process. He focuses exclusively on the nodes you actually need, explaining their function simply so you can transition from random guesswork to confidently building professional shader setups in Blender 4.5+.
Core Material Workflow Nodes
To begin creating materials, you first need to control how textures and data are interpreted by your shaders. SouthernShotty highlights three foundational nodes for setting up coordinate space and object variation.
Texture Mapping and Randomization
- Texture Coordinate: This dictates how a texture is projected onto your model. Options like Generated, UV, Object (great for animating textures), and Camera projection give you flexibility depending on your use case.
- Mapping: The Mapping node allows for precise fine-tuning of the texture’s placement, rotation, and scale. It almost always works in tandem with a Texture Coordinate node.
- Object Info: This node outputs unique object data. Its Random output is an essential time-saver, allowing you to easily randomize properties like color or roughness across multiple duplicated objects without manual intervention.
Essential Utility Nodes for Control
Utility nodes are the workhorses of the Shader Graph, providing granular control over color, contrast, and mixing different effects. These nodes often determine the final look and feel of your material.
- Color Ramp: Arguably one of the most important nodes. It remaps input values (like a grayscale texture or procedural noise) into a custom color range or drastically adjusts map contrast, making sharp masks easy to create.
- Mix Node: Functioning like layers in Photoshop, the Mix node blends two inputs (colors, textures, or shaders) based on a Factor input, which is where you would usually plug in a mask or map.
- Brightness/Contrast & Hue/Saturation/Value: These nodes offer fundamental adjustments to texture appearance, allowing quick fixes or creative color shifting. Curves provide even more granular control over the tonal range.
- Math & Vector Math: These nodes perform arithmetic operations on numerical values or vectors. They are crucial for fine-tuning effects, like multiplying a roughness map’s strength or calculating the direction of a gradient.
Specialized Data and Light Interaction
Certain nodes provide crucial information about the geometry and how light interacts with it, enabling realistic or highly customized visual effects.
- Layer Weight: Controls effects based on the camera’s viewing angle. This is commonly used to drive Fresnel reflections or create a fake rim lighting effect, providing depth.
- Geometry Node: Provides access to various normal data. When mixed with other nodes, the Geometry node is extremely useful for generating complex effects, such as edge-wear masks.
- Bevel Node: A powerful node that simulates soft, rounded edges on sharp geometry without the need to manually add extra geometry. This greatly helps geometry catch highlights naturally in the render.
- Light Path: This node provides information about light rays. The “Is Camera Ray” output is particularly useful for separating how an emission shader lights the scene (its true emission strength) versus how bright it appears visually to the camera.
Understanding the Principled BSDF
While the individual utility and data nodes are vital, the Principled BSDF remains the single most important node. It acts as Blender’s versatile, all-in-one physically based shader, consolidating numerous parameters into one interface.
It controls critical properties like Base Color, Metallic, Roughness, Specular, Transmission (for glass and water), Clearcoat, and Subsurface Scattering (essential for materials like wax, skin, or marble that allow light diffusion beneath the surface).
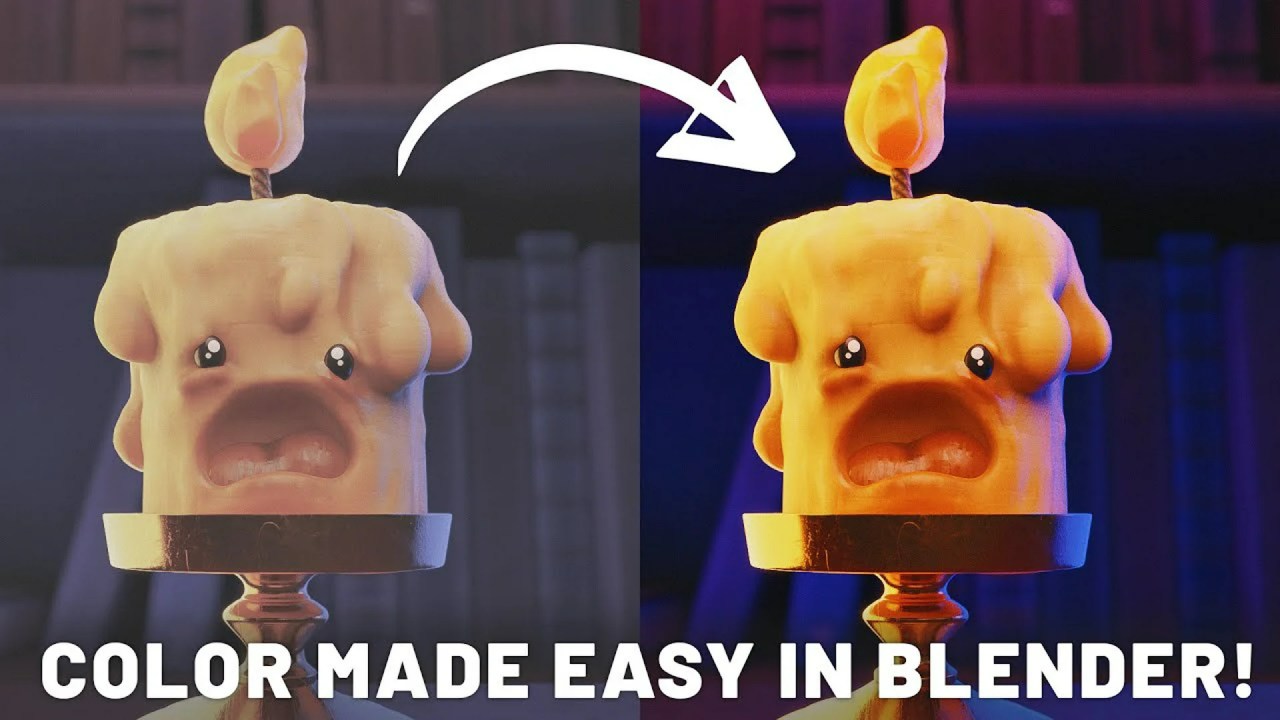
SouthernShotty demonstrates how to create a convincing wax material by routing the Layer Weight output into the Subsurface Strength, thus limiting light scattering only to the edges of the object where light naturally enters.
Procedural Power and Asset Insights
The guide also delves into procedural textures—mathematically generated patterns that do not rely on external image files. These textures, including Voronoi, Wave, and Brick Texture, are perfect for stylized art, stone, skin, or wood, as they offer infinite resolution and easy customization through vector math.
For those looking to expand their knowledge further, SouthernShotty has compiled this information into a full course available on Skillshare (check the description for a potential deal on My New Course). Additionally, he offers valuable resources to his community, including the Dynamic VFX Pack and the Crafty Asset Pack, both of which offer Free Sample Packs to help kickstart your asset library.
If you were intimidated by the Shader Editor before, hopefully, this walkthrough has given you the confidence to dive in and experiment. By focusing on these core nodes, you can quickly enhance the realism and complexity of your digital creations.
Ready to put these skills into practice? Explore more of our comprehensive guides on Texturing and Shading in Blender, learn how to use VFX and Simulation techniques for volume shaders, or discover other expert advice on Lighting and Rendering to make your scenes truly shine.


