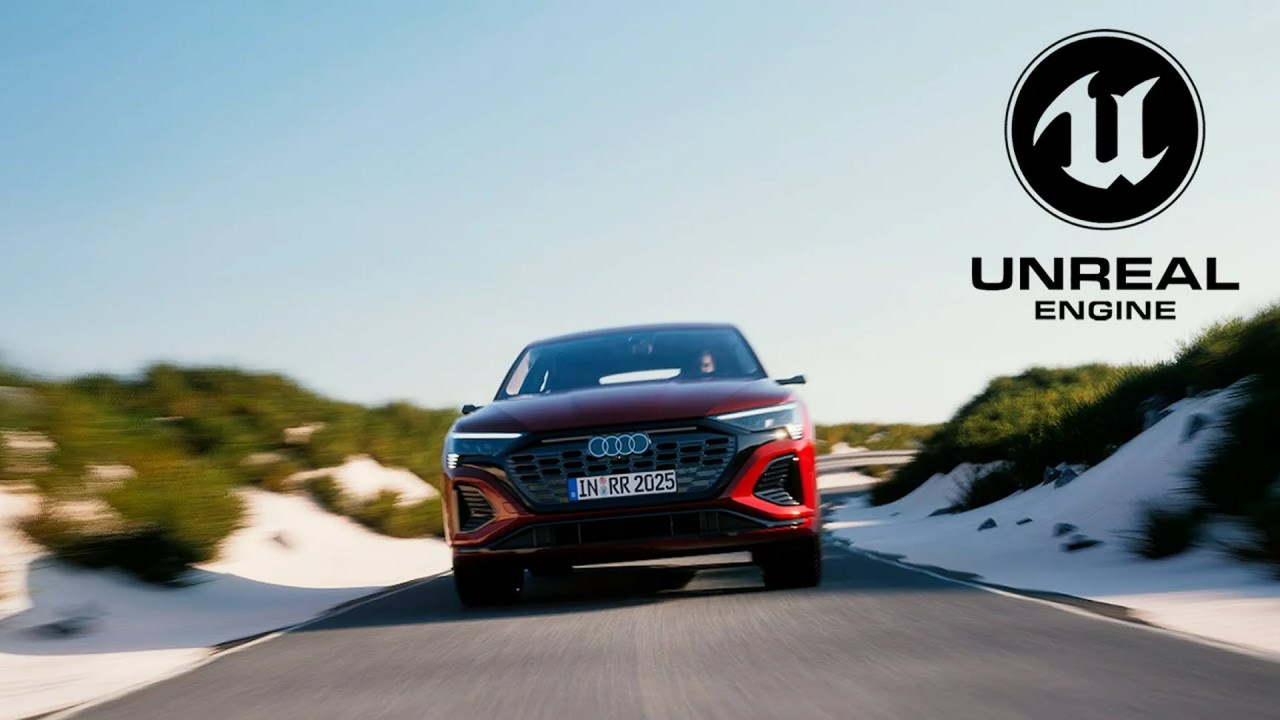
Creating complex, photorealistic automotive cinematics in Unreal Engine 5 requires careful rigging and advanced rendering setup. This guide, based on a tutorial by Magnet VFX, breaks down the essential steps for asset preparation, utilizing Quixel tools, and mastering the Movie Render Queue.
CGI automotive shots are among the most challenging tasks for digital artists, demanding precision in motion, realistic lighting, and high-fidelity rendering. Fortunately, Unreal Engine 5.6.1 provides powerful tools to streamline this workflow, particularly when paired with high-quality assets. Expert creator Magnet VFX (Amit) has released a detailed tutorial showing artists how to combine free Quixel Megascans assets and specialized car rigging blueprints to craft a compelling “Road Trip” cinematic.
The Foundation: Setting Up the Scene and Assets
The foundation of any great cinematic is the environment. For this project, Amit selected the free “Ruler Australia” asset pack for its realistic landscape, though he notes that compatibility adjustments were needed to correctly import assets into UE 5.6.1.
Critically, the vehicle model itself is sourced from the expansive Quixel Megascans library. To bring this asset directly into the UE project, the third-party Cargo plugin must be installed and enabled, allowing seamless integration of high-resolution models and materials directly into the scene.
Advanced Vehicle Preparation and Rigging
Before any animation can begin, the vehicle assets require significant preparation—a step often overlooked in simplified tutorials but vital for professional results. The goal is to separate the rolling components (wheels) from the static components (car body) and ensure correct alignment for the specialized Cinematic Car Rig blueprint.
Preparing Meshes for Rigging
The imported vehicle blueprint must be duplicated and modified. The creator advises deleting the pre-attached wheels on the duplicate, compiling the blueprint, and converting the resulting body into a static mesh. Crucially, the static mesh body’s pivot point must be meticulously centered, and the entire vehicle must be oriented to face the X-axis. The individual tire meshes require the same treatment: centered pivots and X-axis alignment.
Utilizing the Cinematic Car Rig Light (Free)
The core of the animation solution is the Cinematic Car Rig Light blueprint—a valuable free asset provided by Quixel. Once the prepared static mesh body and wheel meshes are plugged into the corresponding slots within this rig, careful alignment is necessary, often requiring adjustments to body height, front/rear offsets, and side offsets to match the physical dimensions of the vehicle model.
Mastering Cinematic Shots with Sequencer
All motion and camera work is handled within the Sequencer. The first step is adding a Cine Camera Actor and adjusting settings for a realistic, cinematic feel, such as setting the film back to 16:9 DSLR and adjusting the focal length. The vehicle’s basic path is keyframed directly on its transform controls within the Sequencer.
To ensure stable, dynamic footage, the camera is then parented to the vehicle blueprint. The camera mount to component, found within the full rig blueprint, is ideal for tracking the action. To enhance realism and simulate the subtle vibrations of driving, Magnet VFX introduces a custom Camera Shake Base Blueprint, adding high-frequency, low-amplitude vertical vibration (pitch adjustments). Additional polish involves using tracking focus to automatically keep the car sharp and adjusting material emissive values, like headlights, to ensure they don’t overpower daytime scenes.
Achieving Realism: The Full Rig and Fine Details (Paid Upgrade)
For artists seeking the absolute maximum fidelity and control, the tutorial briefly covers the Cinematic Car Rig Full Version. While this version requires a purchase, it unlocks powerful features, most notably a spline system. This allows the artist to define a precise, landscape-conforming path, linking the rig via the Distance Traveled parameter, which is keyframed in the Sequencer to control motion.
This paid version also allows for the integration of characters. Amit shows how to retarget and export a skeletal mesh driver (using a driving animation, possibly from Mixamo) and attaching it beneath the vibrating chassis component so the character inherits the motion of the vehicle. Fine-tuned micro-details, like subtle wheel and body vibrations, are easily adjustable via dedicated multipliers in the rig blueprint.
Final Polish: Movie Render Queue Settings (Crucial High-Fidelity Output)
Achieving true photorealism means moving beyond the standard viewport capture. The Movie Render Queue plugin is essential for producing high-quality output. The creator specifies several key settings:
- Enable high temporal sample counts (e.g., 64) for superior anti-aliasing.
- Disable the tone curve in color output for cleaner color data.
- Set the output format to an EXR sequence (ideal for professional compositing).
- Use a custom frame rate, such as the cinematic standard of 24 fps.
Additionally, high-quality camera post-processing effects, including bloom (using the convolution method), chromatic aberration, lens flare, and high-quality translucent reflections, are configured on the Cine Camera Actor to finalize the visual output before the final render begins.
This comprehensive workflow, demonstrated by Magnet VFX on his YouTube channel, proves that with the right assets and setup, achieving high-end cinematic quality within Unreal Engine 5 is entirely within reach for dedicated artists.
If you found these advanced techniques helpful, you might also want to explore guides on creating complex Environment & World Building in Unreal Engine, or dive deeper into professional settings for Lighting & Rendering to get that perfect final shot.
Source:
Unreal Engine 5.6.1 Beginner Tutorial – UE5 Starter Course 2025 #unrealengine5 #megascans #cgi


