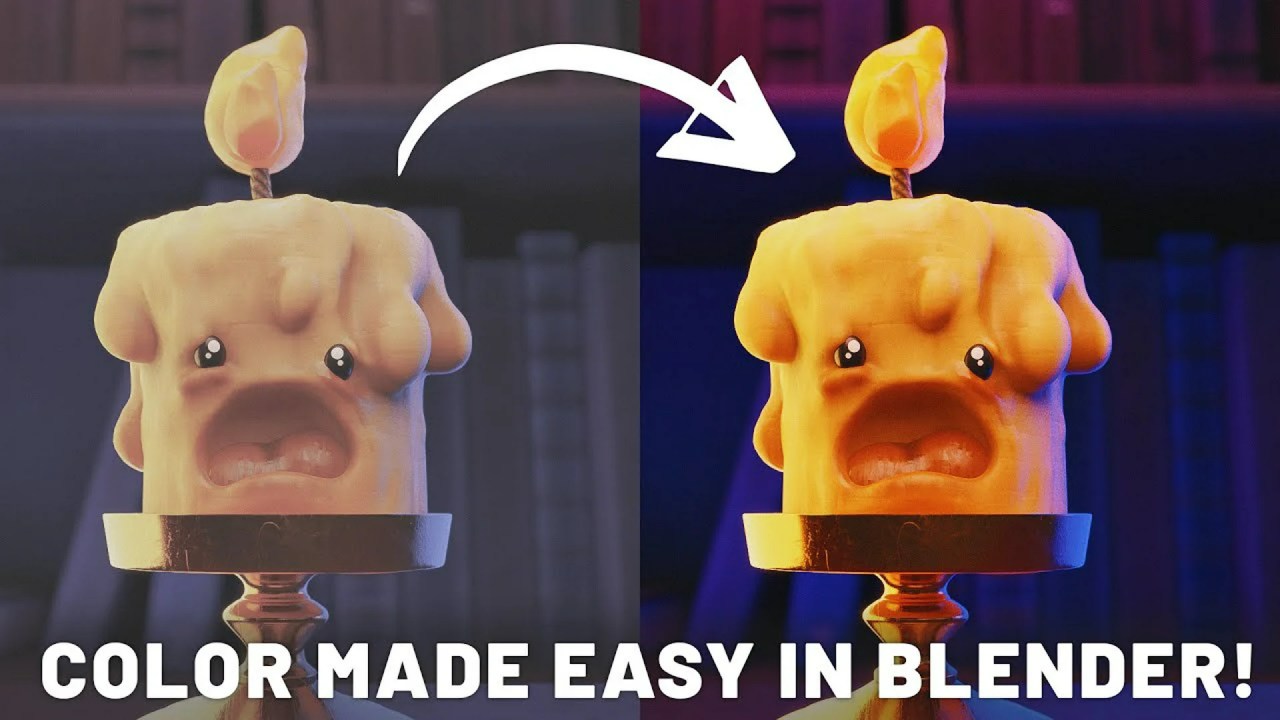
Discover how to transform your Blender renders from flat to fantastic! This guide, inspired by PIXXO 3D’s tutorial, simplifies adding atmospheric glare and bloom using the powerful Compositor.
Add Glare in Blender (Bloom) Beginner Friendly by PIXXO 3D
In the world of 3D rendering, subtle details often make the biggest impact. One such detail is glare, also known as bloom, which can dramatically enhance the atmospheric quality of your scenes, adding warmth and preventing them from looking flat. For those working with bright lights or reflective surfaces, mastering this effect is crucial. Today, we’re diving into how to achieve this in Blender, guided by the expert insights of PIXXO 3D, a renowned 3D artist known for his clear and concise Blender tutorials.
While older versions of Blender might have had a straightforward bloom setting, modern builds leverage the power of the Compositor for greater control and flexibility. PIXXO 3D’s tutorial makes this seemingly complex process incredibly simple, even for beginners.
Why Glare Matters in Your Renders
Glare adds a soft, ethereal glow around bright areas, mimicking how light behaves in the real world. Think of the sun peeking through clouds or the subtle halo around a streetlamp at night. Without it, even the most beautifully modeled scenes can lack depth and realism. The creator emphasizes that this effect is essential for achieving a professional, polished look.
The Compositor Workflow: A Step-by-Step Guide
PIXXO 3D walks us through the process using Blender’s Compositor, a powerful node-based editor for post-processing your renders. Here’s how to get started:
- Render Your Scene: First, ensure you have an object with bright areas or an emissive material in your scene. Render your image as usual.
- Navigate to Compositing: Switch your workspace to ‘Compositing’.
- Enable Nodes: At the top of the Compositor window, check ‘Use Nodes’. This will automatically generate a ‘Render Layer’ node and a ‘Composite’ node.
- Add a Viewer Node: For real-time feedback, press Shift+A, search for ‘Viewer’, and connect the ‘Image’ output from your ‘Render Layer’ node to the ‘Image’ input of both the ‘Viewer’ and ‘Composite’ nodes. This allows you to see the changes as you make them.
- Introduce the Glare Node: Press Shift+A again, search for ‘Glare’, and place it on the connection line between your ‘Render Layer’ and the ‘Viewer/Composite’ nodes.
For more details on Blender’s capabilities and to download the latest version, visit the official Blender website.
Fine-Tuning Your Bloom Effect
Once the Glare node is in place, PIXXO 3D highlights several crucial parameters you can adjust to perfect your effect:
- Type: The default ‘Streaks’ effect is great for sparkling looks. For a general glow, switch this to ‘Bloom’.
- Threshold: This determines how bright an area needs to be to generate glare. Increasing it makes the bloom more contained, while decreasing it allows glare from less bright areas.
- Strength: Controls the overall intensity of the glare.
- Saturation: Adjusts if the light appears whiter or retains its original color.
- Tint: Allows you to add a specific color to the glare, perfect for mood setting (e.g., a spooky green glow).
- Size: Controls the overall spread or radius of the glare.
The video clearly demonstrates how each of these settings can dramatically alter the final look, giving artists immense creative freedom.
Advanced Techniques: Combining Glare Effects
PIXXO 3D doesn’t stop at basic bloom. He shows how to combine multiple glare types for even more sophisticated effects. By duplicating the Glare node (Shift+D), setting one to ‘Bloom’ and another to ‘Streaks’, and then blending them with a ‘Mix Color’ node, you can create intricate glows and sparkles that add incredible depth to your renders.
The Compositor is an incredibly powerful tool in Blender, often overlooked by beginners. It allows for non-destructive post-processing, giving you the ability to tweak your renders long after the initial render is complete, much like a photo editor for your 3D images. PIXXO 3D’s clear instruction makes learning this essential skill accessible to everyone.
Connect with PIXXO 3D
If you found this tutorial helpful, you can support PIXXO 3D’s work and access more exclusive content by joining his Patreon. You can also join his vibrant community on Discord for further discussions and tips. For those looking to deepen their 3D skills, he also offers resources on Skillshare. Don’t miss out on his latest updates by following him on Instagram.
By following PIXXO 3D’s simple yet effective methods, you can elevate your Blender renders, making them more dynamic, atmospheric, and visually striking. Give these techniques a try and watch your scenes come to life!
Source:
PIXXO 3D – Add Glare in Blender (Bloom) Beginner Friendly


