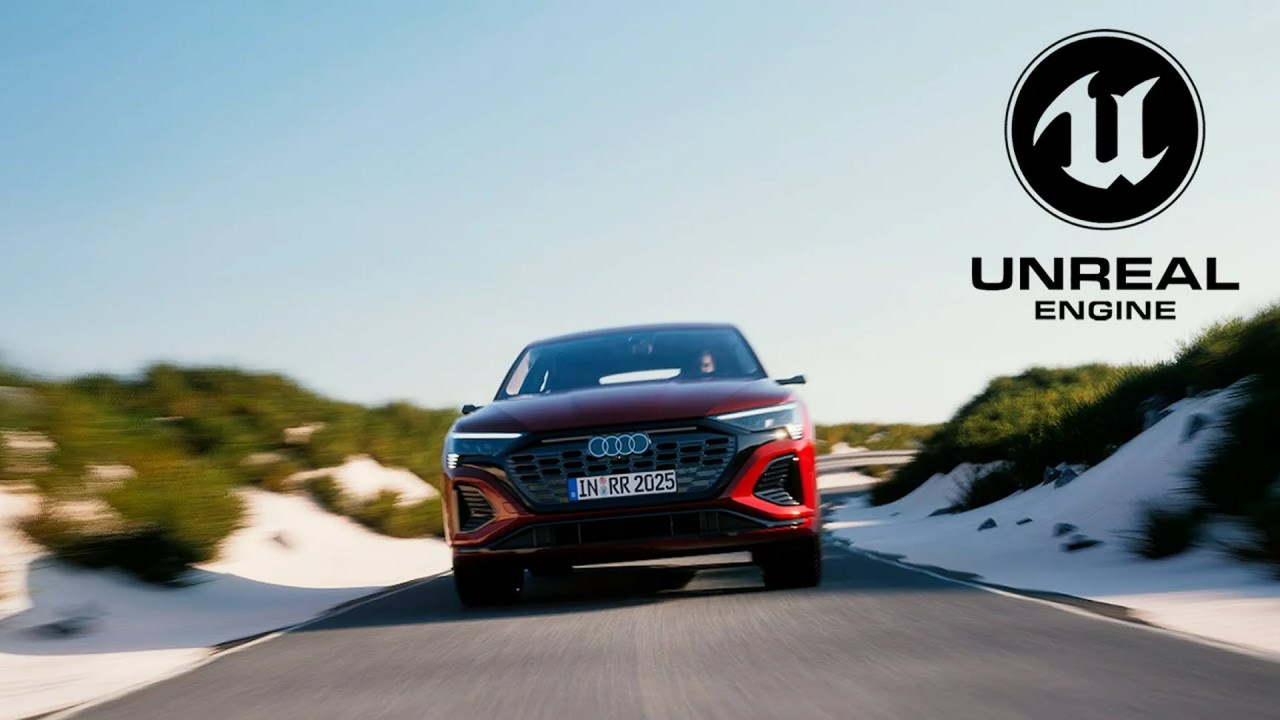
Create captivating car loop animations in Blender with this beginner-friendly tutorial. Perfect your skills for music videos, YouTube content, or to enhance your 3D portfolio with seamless animated sequences.
For 3D artists and Blender enthusiasts eager to enhance their animation skills, a new tutorial promises to guide you through creating seamless car loop animations. This comprehensive, beginner-friendly guide is designed to help you produce eye-catching visuals ideal for music videos, YouTube content, or a standout addition to your 3D portfolio. The lesson comes from JeanYan 3D, who shares his expertise in creating dynamic and visually appealing animations.
The tutorial focuses on simplifying the process of car animation, making it accessible even for those new to Blender. JeanYan 3D’s approach breaks down complex tasks into manageable steps, ensuring that viewers can follow along and achieve professional-looking results. Whether you’re aiming to create a thrilling chase scene or a serene drive through a virtual landscape, the techniques taught in this video will set you on the right path.
Video via JeanYan 3D
Importing and Rigging Your Car
The process begins with importing your chosen car model into Blender. From there, the tutorial explores rigging, a crucial step in preparing the car for animation. JeanYan 3D recommends using “Launch Control,” an auto-rig tool designed for vehicles, to streamline this process. This tool simplifies the often complex task of setting up controls for realistic car movements, allowing you to focus more on the creative aspects of animation.
Animating the Car and Camera
With the car rigged, the tutorial transitions into the animation phase. JeanYan 3D provides detailed instructions on creating realistic car movements and integrating camera animation to enhance the scene’s dynamism. The video covers essential techniques for creating a convincing sense of speed and motion, ensuring that your car animation looks both polished and professional. He also shares tips for creating a looping animation, perfect for extended scenes or backgrounds.
Creating the Environment
A convincing environment is key to a great car animation. The artist delves into creating roads and sidewalks, providing resources for simple road assets to populate your scene. He also touches on adding props and buildings to give depth and realism to the animated world. High-dynamic-range imaging (HDRI) techniques are also explored using “Sceneskies HDRI Pack” to enhance the scene’s lighting and overall visual appeal.
Post-Production with DaVinci Resolve
The final touches are added in post-production using DaVinci Resolve. This segment covers color correction, adding effects, and finalizing the animation for export. JeanYan 3D shares his workflow for polishing the final product, ensuring it meets the highest standards for visual quality. These post-production techniques can elevate your animation, giving it a professional and refined look.
Whether you’re a beginner or an experienced 3D artist, this tutorial offers valuable insights and techniques for creating seamless car loop animations in Blender. With the guidance of JeanYan 3D, you can bring your creative visions to life and produce stunning visuals for any project. You can also find additional assets from the creator, like “assets for less powerful computers,” “My Ranger Baja Extreme” and “FREE professional car model rigged and ready for animation.”
Source:
JeanYan 3D – Create Seamless Car Loop Animations in Blender | Full Beginner Tutorial


