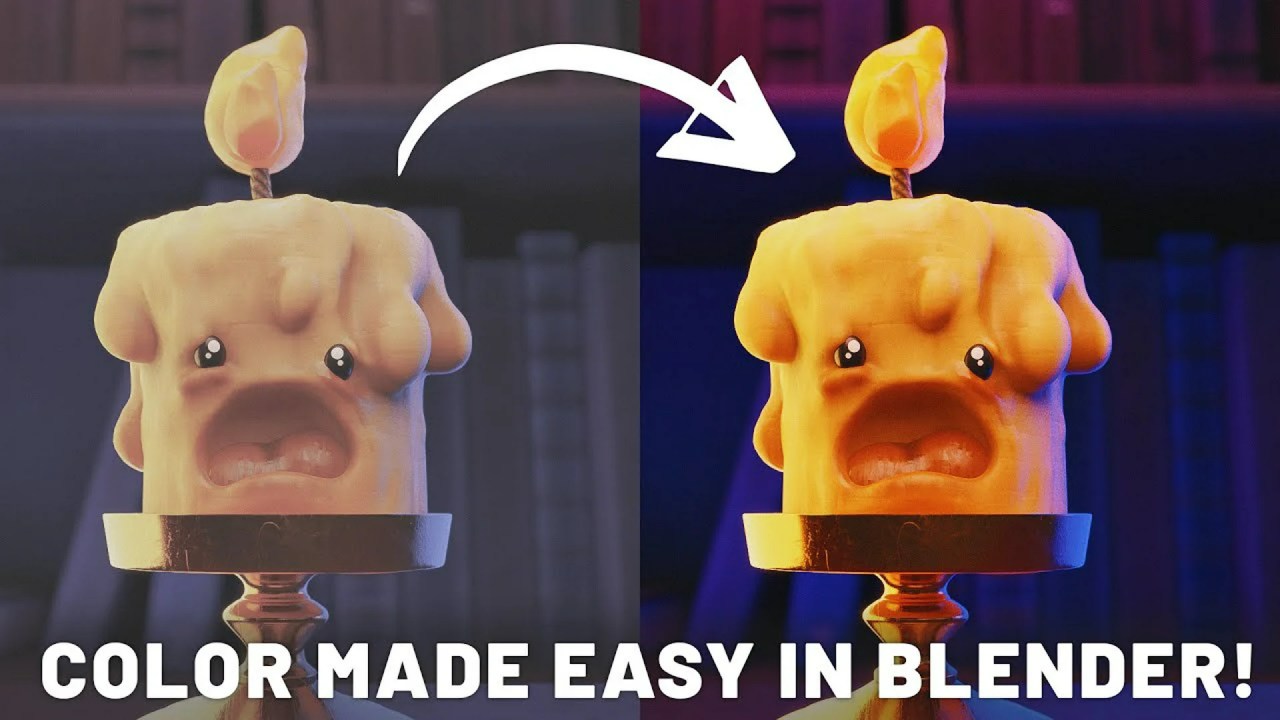
Discover time-saving Blender hacks that enhance your workflow and elevate your 3D projects. This tutorial reveals hidden shortcuts and tricks for modeling, texturing, and rendering, perfect for both beginners and seasoned pros.
Ready to revolutionize your Blender workflow? In a recent video, osasart unveils a treasure trove of Blender hacks that promise to boost your efficiency and enhance the quality of your 3D creations. Whether you’re just starting out or consider yourself a seasoned pro, these tips are designed to take your skills to the next level.
Video via osasart
Unlocking Hidden Shortcuts
Time is of the essence in the world of 3D art, and osasart understands this well. The video dives into a series of hidden shortcuts that can significantly speed up your workflow. These aren’t your everyday tips; they’re the kind of insider secrets that even experienced Blender users might have missed. By mastering these shortcuts, you can spend less time navigating menus and more time bringing your creative visions to life.
One such shortcut involves using the “Ctrl+Number” keys to quickly switch between workspaces. This allows you to jump between modeling, sculpting, and UV editing layouts without disrupting your flow. Another valuable tip is utilizing the “Pie Menu” feature, accessible by pressing a designated hotkey, to access frequently used tools and commands.
Modeling, Texturing, and Rendering Made Easier
Beyond shortcuts, the tutorial explores tricks to simplify complex tasks like modeling, texturing, and rendering. Osasart demonstrates how to use modifiers effectively to create intricate details with minimal effort. For example, the “Array Modifier” can be used to duplicate and arrange objects in a pattern, perfect for creating things like fences or building facades. The video also touches on techniques for efficient UV unwrapping, a crucial step in the texturing process. By using tools like “Smart UV Project,” you can quickly unwrap complex meshes and prepare them for texturing.
When it comes to rendering, the video highlights the importance of optimizing your scene for speed and quality. Osasart explains how to adjust render settings to achieve the desired look without sacrificing performance. This includes tips on using “Ambient Occlusion” and “Bloom” effects to add depth and realism to your renders.
Hacks That Even Experienced Users Miss
What sets this video apart is its focus on hacks that are often overlooked, even by experienced Blender users. These are the kind of tips that can make a real difference in your workflow, but are not always obvious. For instance, osasart shares a trick for quickly aligning objects using the “Snap” tool, which can be a lifesaver when precision is required. The creator also demonstrates how to use the “Grease Pencil” tool for creating annotations and sketches directly in the 3D viewport, a handy feature for planning out your scenes.
To further enhance your texturing workflow, consider exploring resources like AmbientCG, which offers a vast library of free PBR textures. Integrating high-quality textures into your projects can significantly elevate their visual appeal.
Elevate Your 3D Art
The goal of this video is clear: to empower 3D artists to create amazing work faster and smarter. By incorporating these Blender hacks into your workflow, you can unlock new levels of efficiency and creativity. Osasart’s friendly and professional approach makes the tutorial accessible to users of all skill levels, while the practical tips and tricks are sure to benefit even the most experienced Blender veterans.


