Learn to create stunning, realistic product renders in Blender with this comprehensive tutorial. Master modeling, texturing, and cinematic lighting techniques in under 10 minutes to elevate your 3D visualization skills.
In the dynamic world of 3D visualization, creating realistic product renders quickly and efficiently is a highly sought-after skill. Whether you are a designer, developer, or a brand aiming for impactful visuals, understanding the pipeline from concept to final render is crucial. This article dives into a fantastic resource from Blender To Browser, a creator dedicated to bridging the gap between sophisticated 3D renders and immersive web experiences. He presents a streamlined workflow for achieving a stunning 3D keyboard render in Blender, covering essential steps from modeling to texturing and lighting, all within a surprisingly short timeframe.
It’s fascinating how Blender, a powerful open-source 3D creation suite, continues to empower artists to produce professional-grade visuals often associated with much more expensive software. Blender To Browser’s unique approach highlights not just the technical steps but also the potential for these renders to translate into interactive web design, showcasing a forward-thinking integration of design and code. This tutorial is a testament to the software’s versatility and the creator’s expertise in leveraging it for product rendering and 3D visualization.
Mastering the Model: A Hard Surface Approach
The tutorial kicks off with the hard surface modeling of the keyboard. He demonstrates how to transform a simple cube into a sleek keyboard base, skillfully using scaling, beveling, and the shear tool to achieve precise geometry without relying on subdivision surfaces initially. This method ensures a clean mesh ideal for product rendering. Next, individual keycaps are crafted, focusing on maintaining sharp top edges while beveling corners for a smooth finish. The use of an array modifier efficiently populates the keyboard, showcasing smart workflow techniques. For the top case and USB port, the creator employs boolean modifiers and careful mesh manipulation, demonstrating how to integrate complex shapes seamlessly. Throughout this section, his guidance emphasizes efficiency and precision, crucial for high-quality 3D visualization.
Bringing Surfaces to Life: Texturing Techniques
Once the models are complete, the focus shifts to bringing them to life with materials. The content creator prepares the scene by adding a ground plane and an HDRI for realistic texture previews. For the base mesh, he assigns a metallic material with subtle roughness, then introduces a noise texture to add surface imperfections, controlled by a color ramp and mixed with a second noise texture for depth. A bump node then connects this intricate detail to the material’s normal, giving the surface a tangible feel. Similar principles apply to the keycaps, where roughness is modulated using noise textures and color ramps, with a gradient texture added for a subtle aesthetic touch. He also briefly touches upon refining pre-existing materials for key switches, adjusting transmission, roughness, and color. These tips & tricks are invaluable for achieving photorealism.
Illuminating Perfection: Lighting & Scene Composition
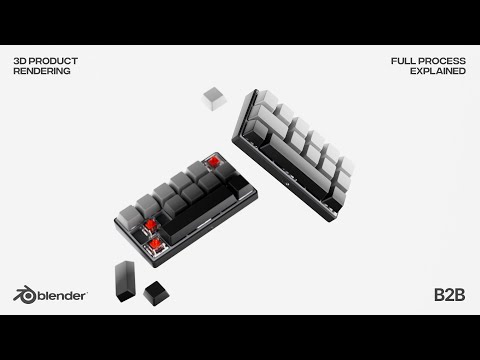
The final stage is where the keyboard truly shines—literally. Blender To Browser demonstrates how to parent all keyboard parts to an empty object, allowing for easy manipulation and achieving a “floating” display aesthetic. For lighting, he utilizes plain meshes with emission shaders strategically placed around and behind the keyboard to create cinematic highlights and a pleasing gradient wash on the backdrop. These lights are cleverly set to be invisible to the camera, ensuring they only illuminate the scene. The tutorial concludes with a clever technique for creating the illusion of floating keycaps by moving individual caps in edit mode, adding a dynamic flair to the final photorealistic render.
Blender To Browser’s tutorial is an excellent example of how focused effort and smart techniques can yield impressive realistic product rendering results in Blender. His expertise in combining 3D visualization with web design offers a unique perspective for creators looking to push the boundaries of their work. By following his clear, step-by-step instructions, you can significantly enhance your hard surface modeling, texturing, and cinematic lighting skills. We encourage you to explore his other content for more insights into turning 3D renders into immersive web experiences.
For deeper dives into enhancing your 3D creations, consider exploring our extensive Blender category. If you’re looking to refine your materials and surfaces, our Blender Texturing & Shading section offers a wealth of resources. And for mastering the art of illumination, don’t miss our dedicated Blender Lighting & Rendering guides.
Source:
Realistic Product Rendering in Blender under 10min. Modeling | Texturing | Lighting.


