Dive into 3D product visualization with Blender To Browser’s quick guide. Learn essential techniques for modeling, lighting, shading, and texturing a realistic cosmetic compact, ensuring your renders are production-ready in under 10 minutes.
Ever wondered how stunning 3D product renders are brought to life, ready to jump from design software to an immersive website? The talented creator behind Blender To Browser, a channel dedicated to the intersection of 3D product rendering and frontend web design, offers a fantastic, concise tutorial. In less than 10 minutes, he walks viewers through the entire process of creating a realistic 3D cosmetic compact model in Blender, covering everything from initial modeling to final touches like lighting and shading.
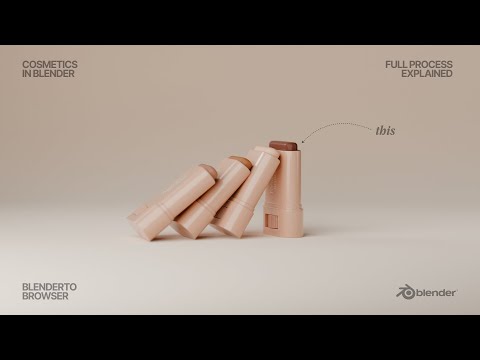
Crafting Your 3D Model: Precision and Realism
The journey begins with meticulous modeling. The tutorial guides you through using reference images and basic shapes like circles, extruding, and applying loop cuts and bevels to sculpt the compact’s base. A key step involves creating a circular hole for the wheel by bridging middle faces and then smoothing sharp edges with bevels and a subsurface modifier. For the wheel itself, a cylinder is inserted and adjusted, with bumps created by individually insetting and extruding faces. The upper body takes shape through repeated insetting and extrusion, while the cream or blush component is formed by duplicating, separating, insetting, and extruding a top face to achieve that smooth, curved look.
A crucial detail highlighted by the creator for achieving realism is proper scaling. He emphasizes changing scene units to centimeters and scaling the model down to real-world dimensions. This isn’t just for visual accuracy; it fundamentally impacts how light interacts with your model, laying the groundwork for realistic lighting effects later on. It’s a testament to the fact that in 3D rendering, small details like scale can make a monumental difference in the final output.
Illuminating Your Product: Studio Lighting Setup
Once the model is built, the next vital step is lighting. The video demonstrates setting up a professional studio environment. This involves adding a plane mesh and extruding one edge to create a seamless, curved background, which is then beveled and shade-smoothed. A camera is carefully positioned for the optimal product shot. Using Blender’s Cycles rendering engine, three area lights are strategically introduced: a primary key light for sharp illumination, a second, softer light to fill the background, and a third with reduced strength, fine-tuned to personal preference. This multi-light setup is a staple in product photography, ensuring your 3D render pops with professional-grade illumination.
Adding Texture and Context: Shading and Labeling
Shading brings your model to life with realistic materials. For the background plane, a simple color application suffices. The main compact body receives a clear coat set to maximum (1) and a roughness value between 0.20 and 0.30, mimicking a glossy plastic or metal finish. The blush cream, in contrast, is given a higher roughness (0.6 to 0.8) and some clear coat to reflect its distinct texture. The tutorial also touches on scene creation, encouraging users to replicate real-world cosmetic product setups found online, emphasizing the importance of context. Finally, labels, often designed in tools like Figma, are carefully applied to the model, breaking down complex designs for easier integration. The beauty of this workflow is that once your lighting and materials are set, you can simply reposition your model within the scene to create diverse final renders without further property adjustments.
What makes Blender To Browser’s approach particularly insightful is its holistic view—not just creating beautiful 3D renders, but understanding their role in a larger digital ecosystem. The channel’s mission, “Turning 3D Renders into Immersive Websites,” highlights the growing demand for interactive and visually rich online experiences. Blender, as a powerful open-source 3D creation suite, plays a pivotal role in this, enabling creators to produce high-quality assets that can then be seamlessly integrated into web applications using technologies like React, Tailwind CSS, and Framer Motion. This tutorial is a perfect example of how foundational 3D skills are essential for anyone looking to bridge the gap between stunning visuals and engaging web experiences.


