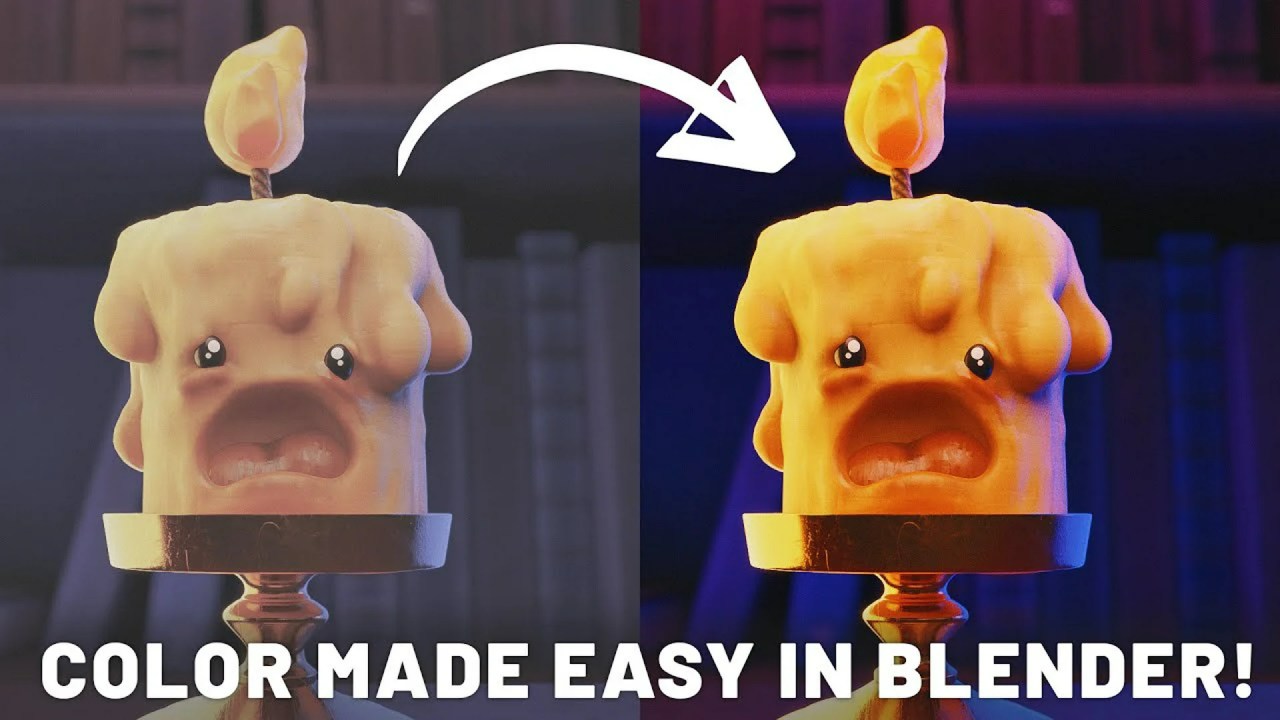
The secrets of tone mapping in Blender. Learn how to handle high dynamic range scenes, avoid blown-out highlights, and achieve more realistic renders with AGX and Filmic view transforms.
Ever wonder why your stunning 3D scenes in Blender don’t quite look the same after exporting, or why some areas appear blown out or too dark? The answer often lies in understanding tone mapping, a crucial process for bridging the gap between the vast dynamic range of a 3D scene and the limited range of display devices. In a quick and clear explanation, veteran Blender artist and educator Richard Yot breaks down exactly what tone mapping is, what it does, and how it works within Blender.
Scenes in 3D software frequently contain a high dynamic range (HDR) of light and shadow, far exceeding what standard dynamic range (SDR) displays can handle. Think of a bright outdoor scene viewed from a dimly lit interior; the contrast is immense. Without proper handling, you’re forced to choose between exposing for highlights (making shadows too dark) or exposing for shadows (blowing out highlights). This is a challenge old-school photographers faced with slide film, which had a very limited contrast range. Tone mapping steps in to solve this problem by intelligently compressing the scene’s dynamic range.
Here’s Richard Yot’s excellent explanation:
Essentially, tone mapping takes those extreme highlight regions and compresses them to fit within the available dynamic range of your display, making the entire image more pleasing and viewable. Since 3D artists are almost always dealing with HDR imagery, this process is a necessity. Thankfully, Blender handles it by default through its ‘View Transform’ settings.
Blender’s Default View Transforms: AGX and Filmic
By default, Blender uses the AGX view transform, which Richard highlights as generally more realistic and pleasing than the older default, Filmic. While Filmic offers a similar effect, it tends to have more saturated highlights. Both transforms are essentially performing tone mapping to ensure your viewport displays a balanced image.
Exporting Your Renders: HDR vs. SDR
This is where things can get a little tricky. If you export your renders in a low dynamic range format like PNG or JPEG, the tone mapping applied by your chosen view transform (AGX or Filmic) will be ‘baked’ into the image. What you see in the viewport is what you get.
However, if you export in a high dynamic range format such as OpenEXR, the tone mapping is not applied. Instead, the renders are saved in a linear format (specifically Rec 709), preserving all the original linear data. If you then open these EXR files in software like Photoshop or DaVinci Resolve, they might look flat or washed out compared to your Blender viewport. This isn’t a bug; it’s by design! The assumption is that you’ll apply your own tone mapping and color grading in your post-processing software, giving you maximum flexibility.
To match the appearance you had in Blender when working with HDR exports in other software, you’ll need to apply the same view transform there. The presenter notes that this is a topic for a future video, so keep an eye out for more insights from him.
Understanding tone mapping is fundamental for any Blender artist aiming for professional-quality renders. For more in-depth Blender training and assets, be sure to check out richardyot.com, where he shares his extensive knowledge.
Sources:
Tonemapping in Blender – Explained in Under 4 Minutes – Richard Yot


